Findings
Describe your crystals in the table below.
Crystal Type
|
Shape
(Describe the shape) |
Size
(of individual crystals) |
Hardness
(Crumbly to Rock Hard) |
Borax
 | Square: Cube | Medium | Hard |
Sugar
 | Circle, Cube | Medium | Hard |
Salt
 | Cube and Circle | Large | Rock Hard |
What crystals worked out best and why?:
Conclusion:
_
How is salt formed
How is sugar formed
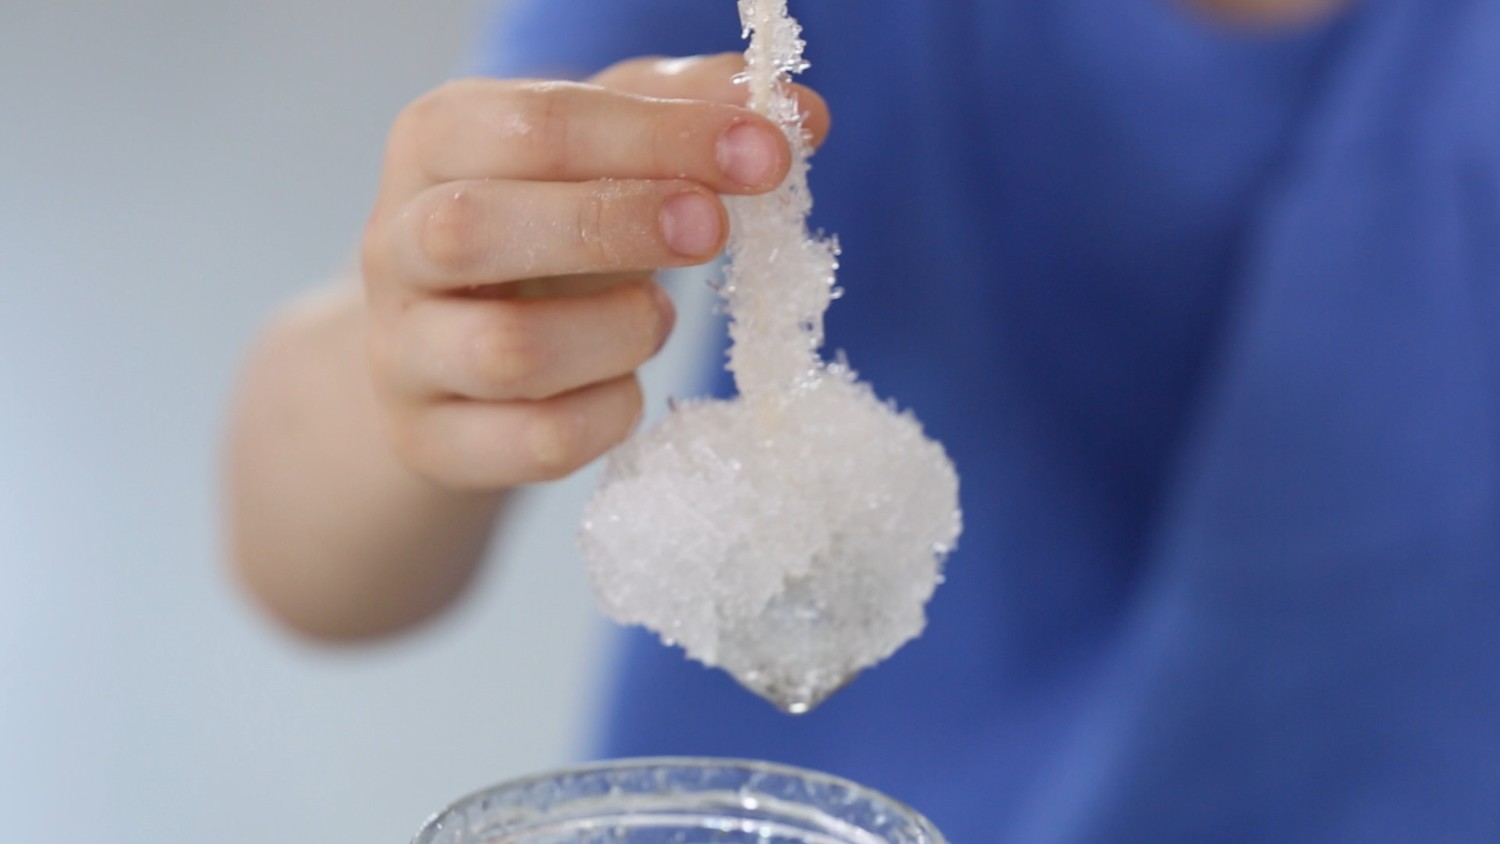
 How are snowflakes made
Conclusion:
_
How is salt formed
How is sugar formed
How are snowflakes made
Explain how the following crystals are formed:
Type
|
Explanation
|
Salt
|
Saltwater flows onto a lake/pond where the water would eventually evaporate and then it would come up as pure brine. After that crystals will be made and the lake/pond will be drained
|
Sugar
 |
Sugar can be made in two different ways one way is using sugar cane and another way is using sugar beets. To make sugar people wait for the sugar to grow until they are ready to be harvested, then they cut off the tops. After harvesting and transporting to a mill, the sugar cane is wash and cut into shreds. After that huge rollers crush the cane really hard, then the mixture goes down to a machine which separates the fibres and juices are separated. Then the juices go to another machine to be evaporated, then they are put in a huge pot to be crystallized. To get crystals from the mixture, you need to add sugar crystals just a sprinkle is enough o kickstart the process. From there it is moved into a machine where a centripetal would force out the remaining liquid. Leaving you with dry sugar crystals, then it will be purified, decolourized, recrystallized and dried in a large granulator. Lastly, they are run through a variety of screen where they would be sized, also to removed any impurities and to make the sugar crystals the right size and colour.
|
Snowflakes
 |
A snowflake forms when an extremely cold water droplet freezes onto a pollen or a particle in the sky, then it would grow and grow until it hits the ground.
|
CRYSTAL TYPES
AIM: TO LOOK AT THE 7 DIFFERENT TYPES OF CRYSTALS
 |
| Salt Crystals |
| Sugar Crystals |
 |
| Borax Crystals |
7 different crystal shapes

The 7 types of crystals
Type
|
Number of sides
|
2 examples
|
Image
|
Triclinic
| 7 | Turquoise Rhodonite | 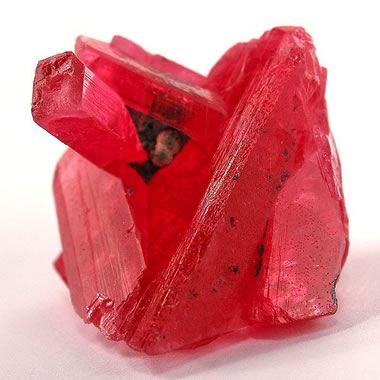 |
Monoclinic
| 6 | Azurite Jadeite | 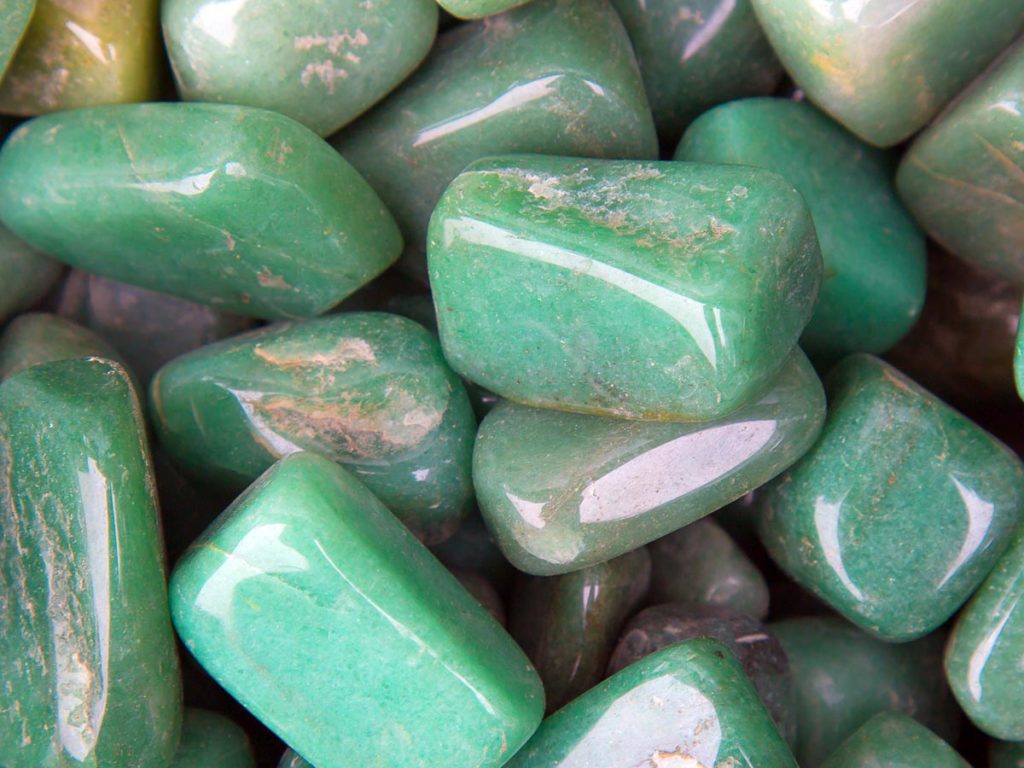 |
Orthorhombic
| 6 | Aragonite Andalusite |  |
Trigonal
| 6 | Alunite Abhurite |  |
Hexagonal
| 8 | Quartz Agate |  |
Cubic
| 6 | Lapiz Lazuli Fluorite |  |
Tetragonal
| 10 | Zircon Apophyllite |  |